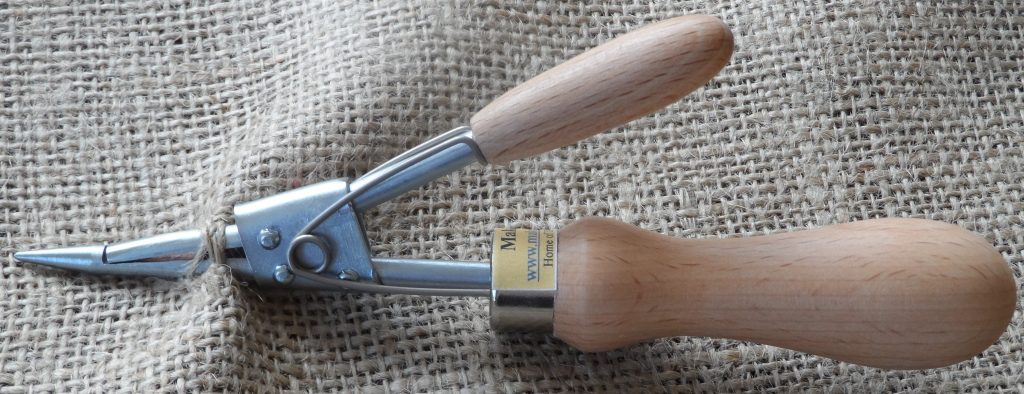
Rag Rugger
The rag rugger is used to pull short strips of cloth (about 25mm x 80mm) through hessian backcloth. There”s no need to knot the strips, just so long as enough pieces are put in; the more bits of cloth in the hessian, the tighter the weave becomes – this grips the bits of cloth and keeps them from coming out again. This is the way people used to turn their old clothes into a rug, using a sack as the backcloth.
First take up two or three strands in the hessian backcloth with the point of the rugger and push it right through as far as it will go. There”s no need to be precise, it”s not that sort of craft, but taking up too many strands (more than 6, say) will mean the strip of cloth won”t be pinched tightly enough in the middle; and, even worse, one strand taken up on it”s own is liable to pull out.
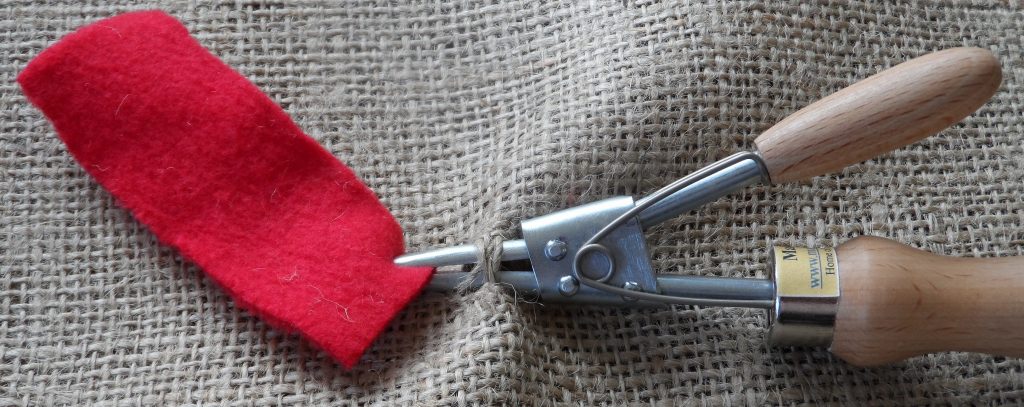
Open the rugger’s jaw and grab one corner of the short strip of cloth.

Pull the strip until it’s halfway through, with both ends sticking out of the hessian, and let it go. There, piece of cake; with a bit of practice you can do it without even looking.
First, you need lots of cloth. Rag rugs are always heavy – they use a lot of material. Fortunately there’s plenty of old cloth about. In their heyday rag rugs were made by people who just couldn’t afford to buy a rug; it’s the ultimate ‘hard times’ craft. Now that we’re swamped with cast off clothes it’s easy to find tons of cloth which makes this one of the cheapest crafts around ‘ so you can stay true to it’s traditions and save money at the same time.
Almost any type of cloth will do. Provided that it doesn’t actually disintegrate when it’s cut up it’ll be okay. A bit of common sense is all that’s needed – thin cloth will make a lighter, softer rug; thick cloth will make a heavier, tougher rug. You can even experiment with non-textiles – carrier bags work surprisingly well, for instance, and there’s certainly no shortage of them. Charity shops and jumble sales are usually the best bets for old cloth.
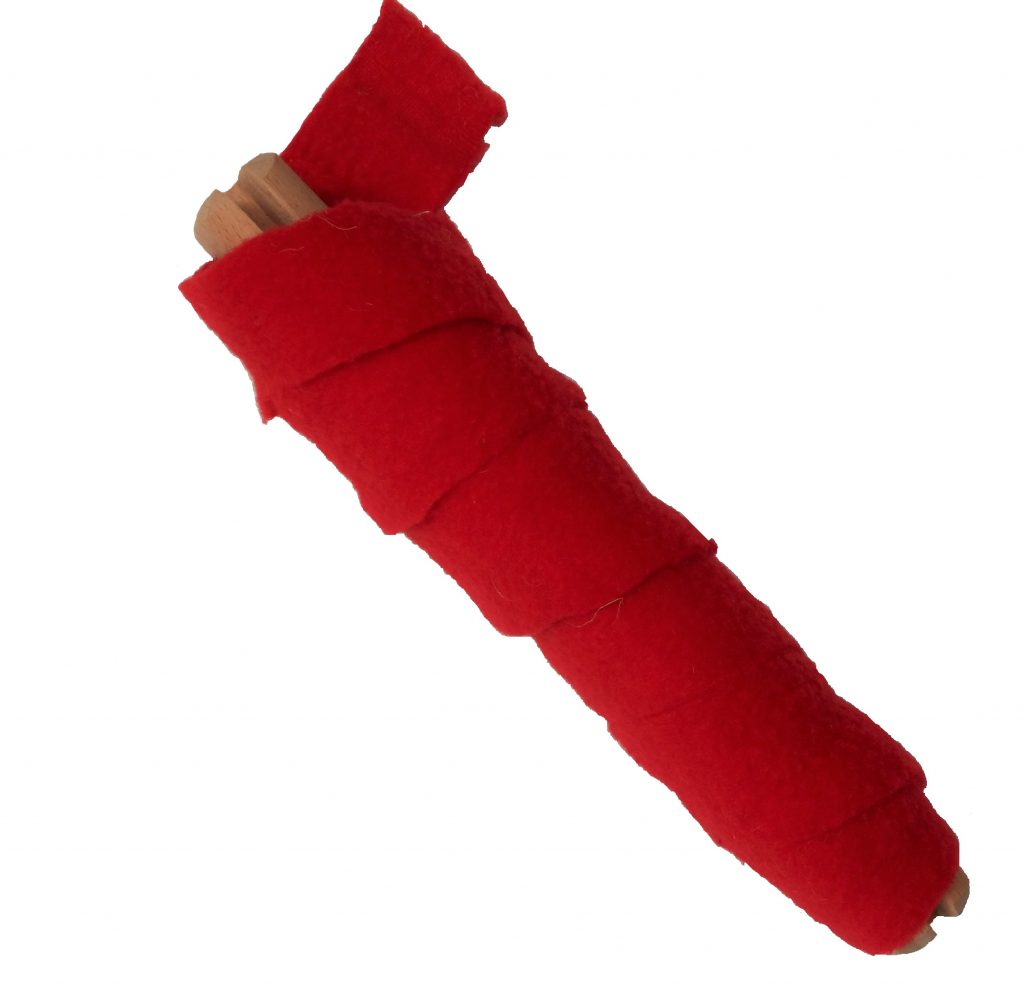
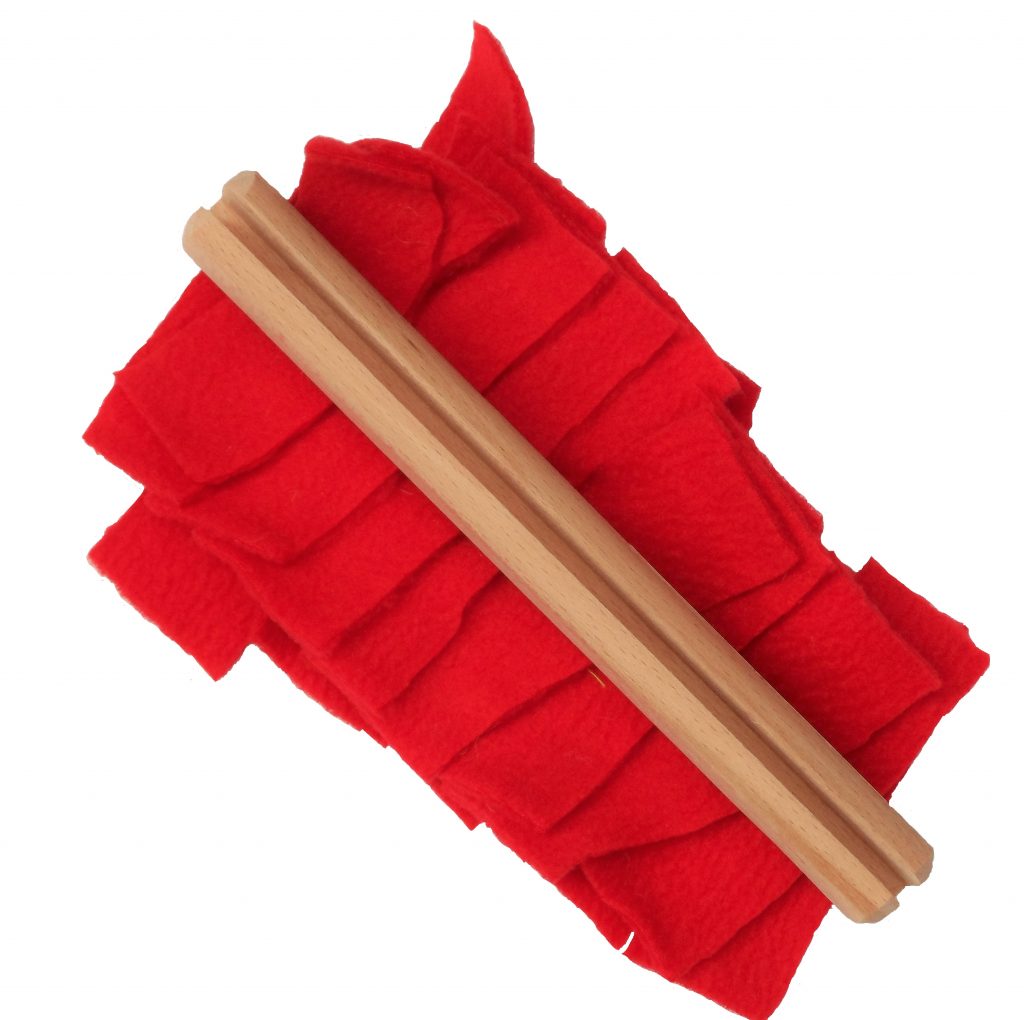
Once you’ve got your material it needs to be cut into small pieces – an ideal size is about 25mm (1″) x 80mm (3 “). Don’t worry – it doesn’t have to be a big job. Long strips, 25mm wide, can be either torn or cut. If the material naturally tears in a straight line (like woven cotton or poly/cotton) then snipping the edge and tearing away is the easiest answer; not everybody likes a torn edge, mainly because of the threads that come of it, but there’s always the option to cut. Materials that won’t tear in a straight line (like cotton jersey or poly fleece) can be cut into long strips surprisingly quickly by folding them several times, always in the same direction, and then cutting across the fold. Either sharp scissors or a rotary cutter and cutting mat will do the job. The strips you get this way probably won’t be dead straight but don’t worry – by the time they’re cut into short pieces it won’t matter at all. Tip: If you’re cutting folded cloth it’s a good idea to put a few clothes pegs along the folded edge, to keep the folds in place, before you start.
Having cracked the problem of getting long strips then comes the cutting them into short pieces, all about the same length, problem. The answer is a simple cutting gauge. This is simply a wooden baton with a groove cut along one side.